How to import data into an interview from XPM?
This article will show you the process on how to import data from XPM to your LYD interviews.
1. Make sure that your XPM account is connected. To integrate your account, kindly check this link: How to integrate your XPM account?
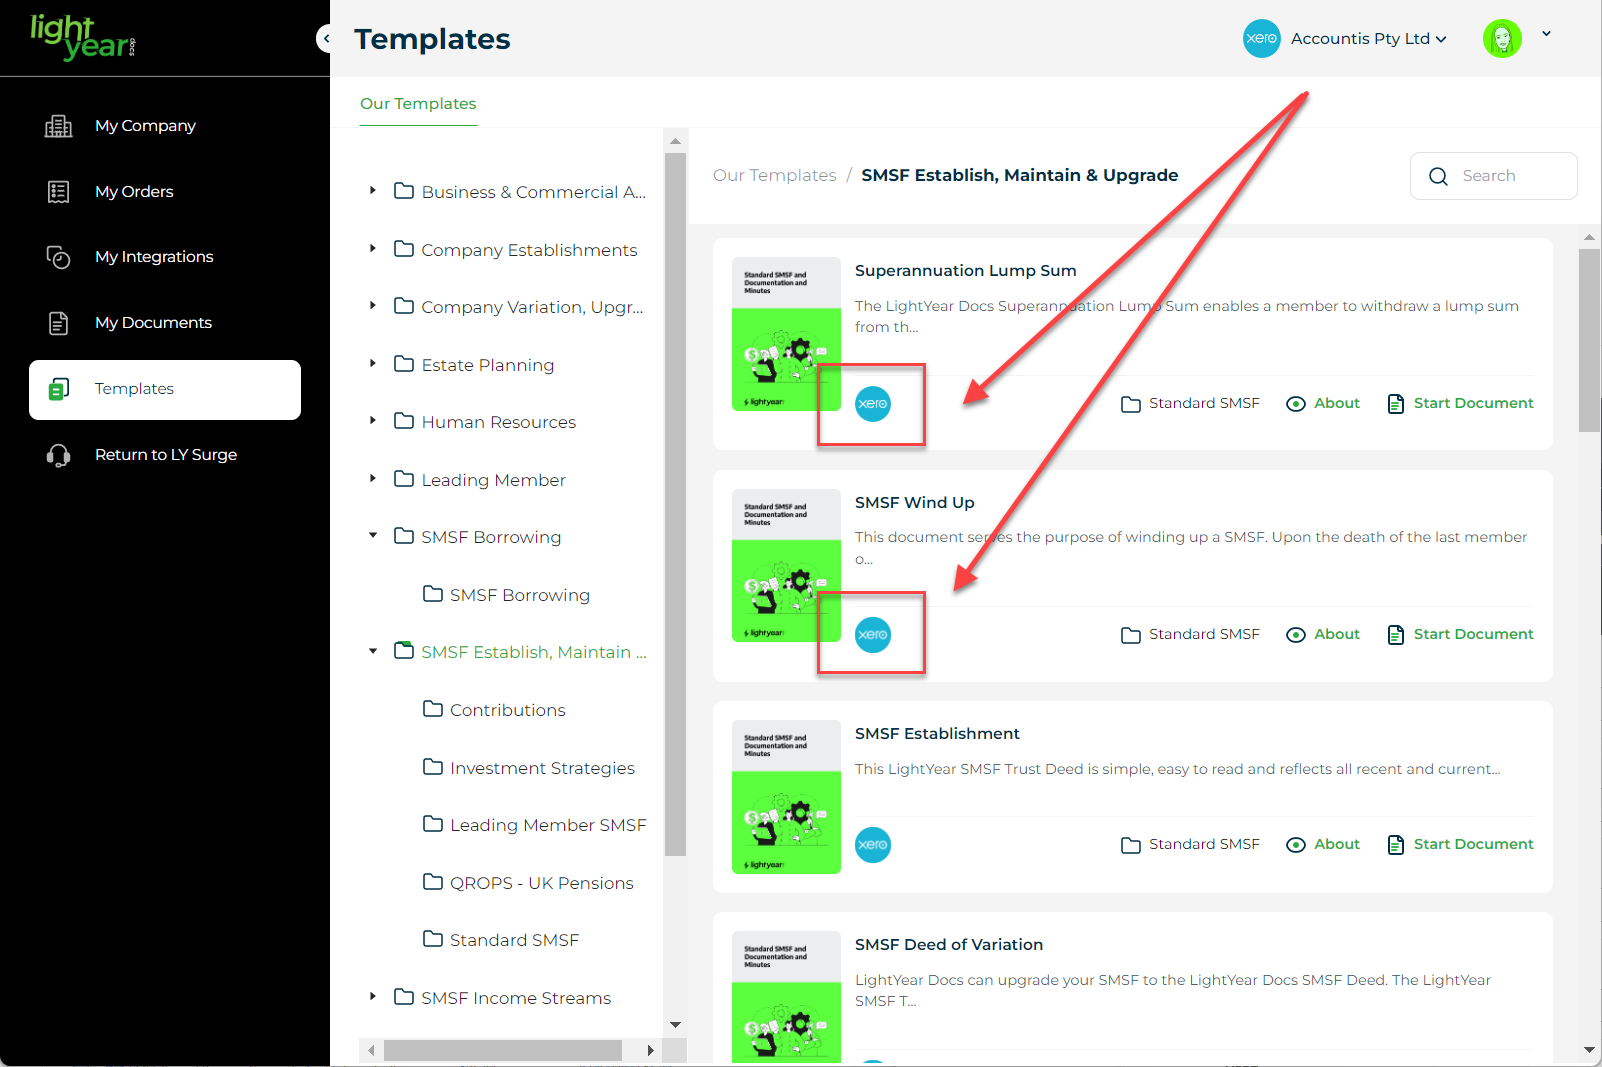
2. Check that the template to be used is Xero ready by locating the Xero logo.
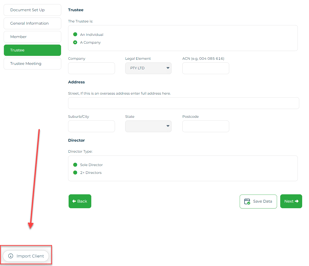
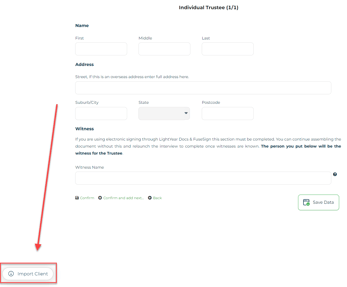
3. Start the document as usual. Fill out the questions. The system would know automatically if there is a client data that you can import from Xero and the Import Client button will appear.
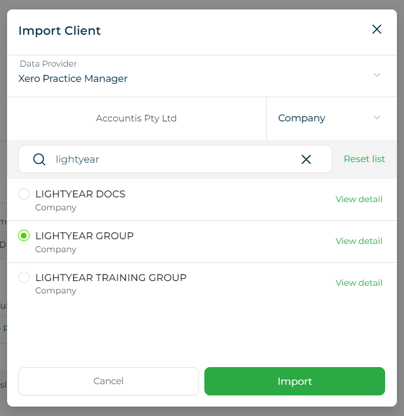
4. When you click the Import Data button, a pop-up would appear for you to look up for your data to input. Please check here to identify the parts of the Import Client pop-up: Parts and functionality of the Import Client pop-up
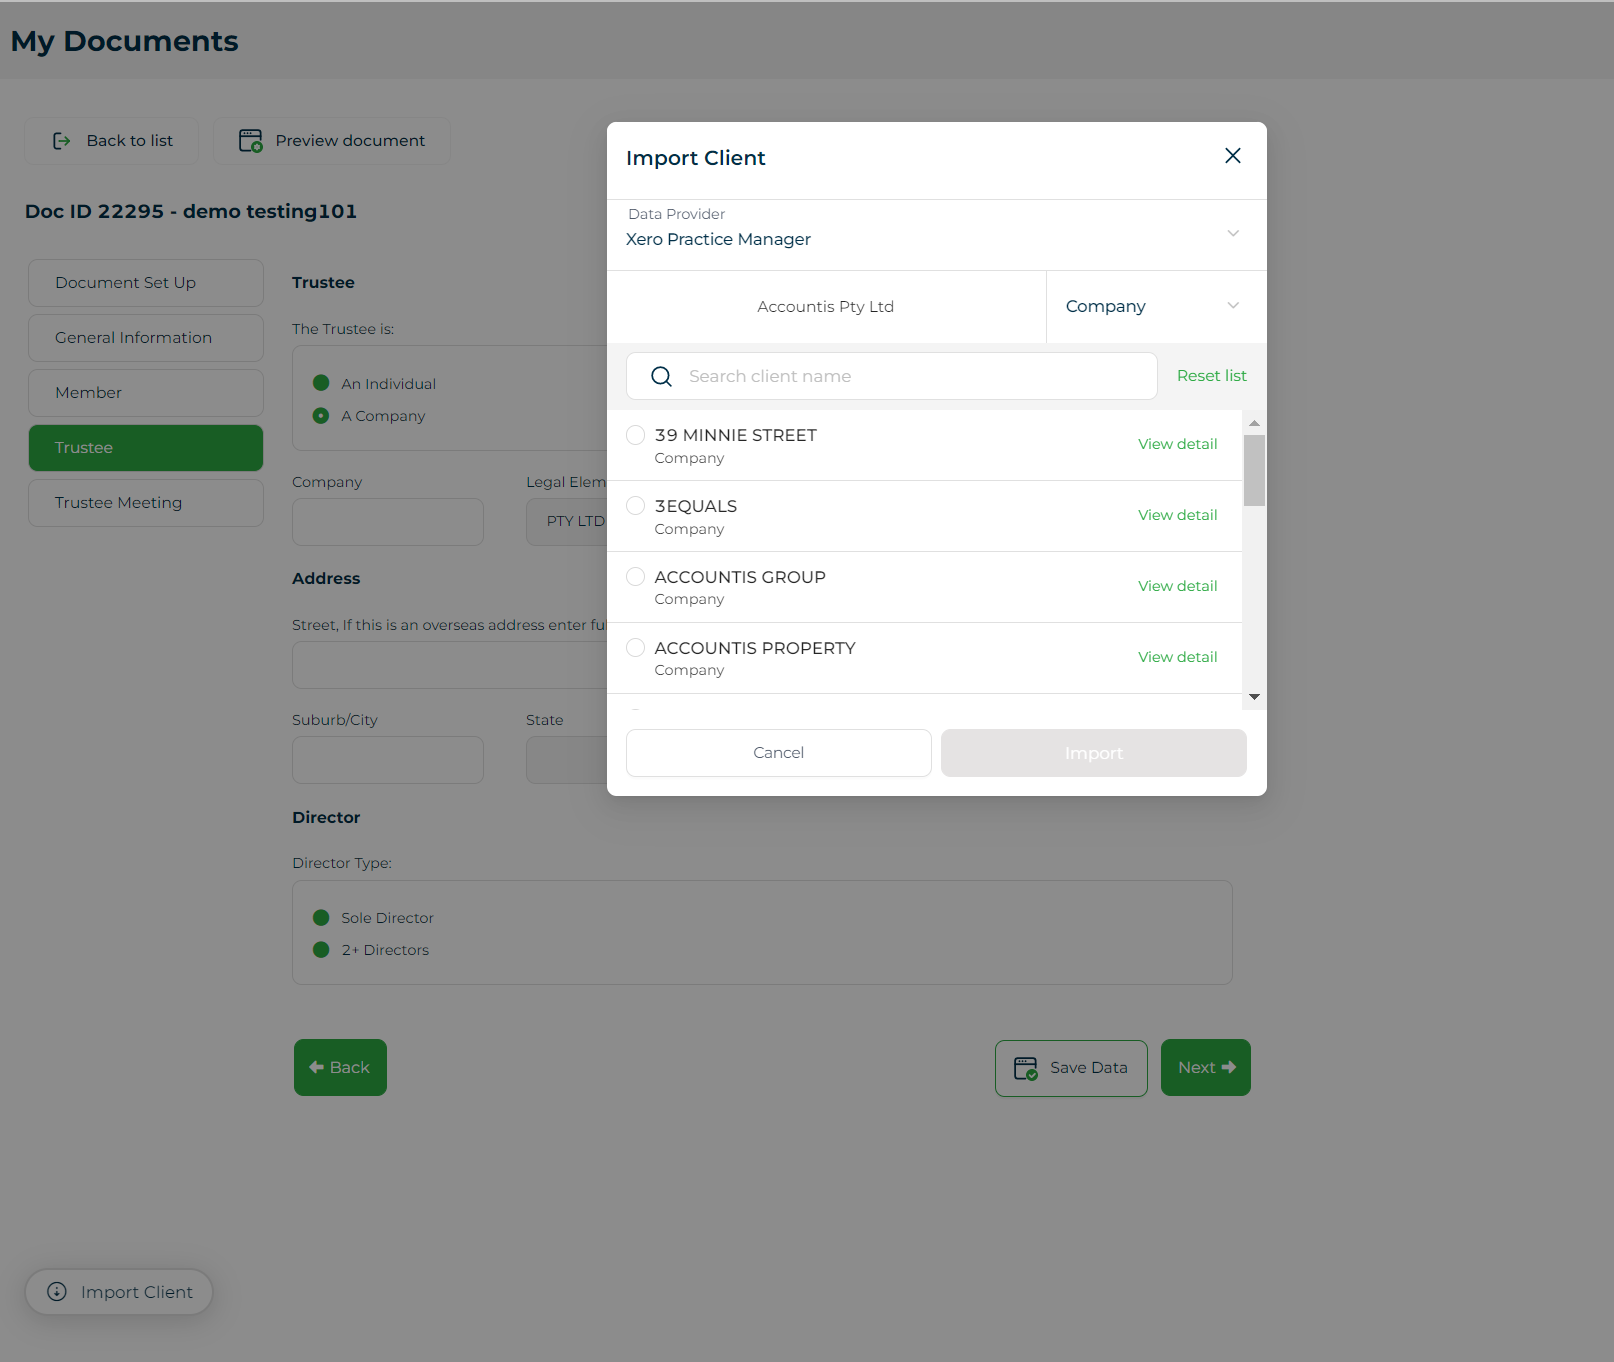
5. You can scroll down to locate the data or use the Search bar to locate the data faster. Once you found the data, click on it and click on the Import button.
6. The interview will then be auto-populated.
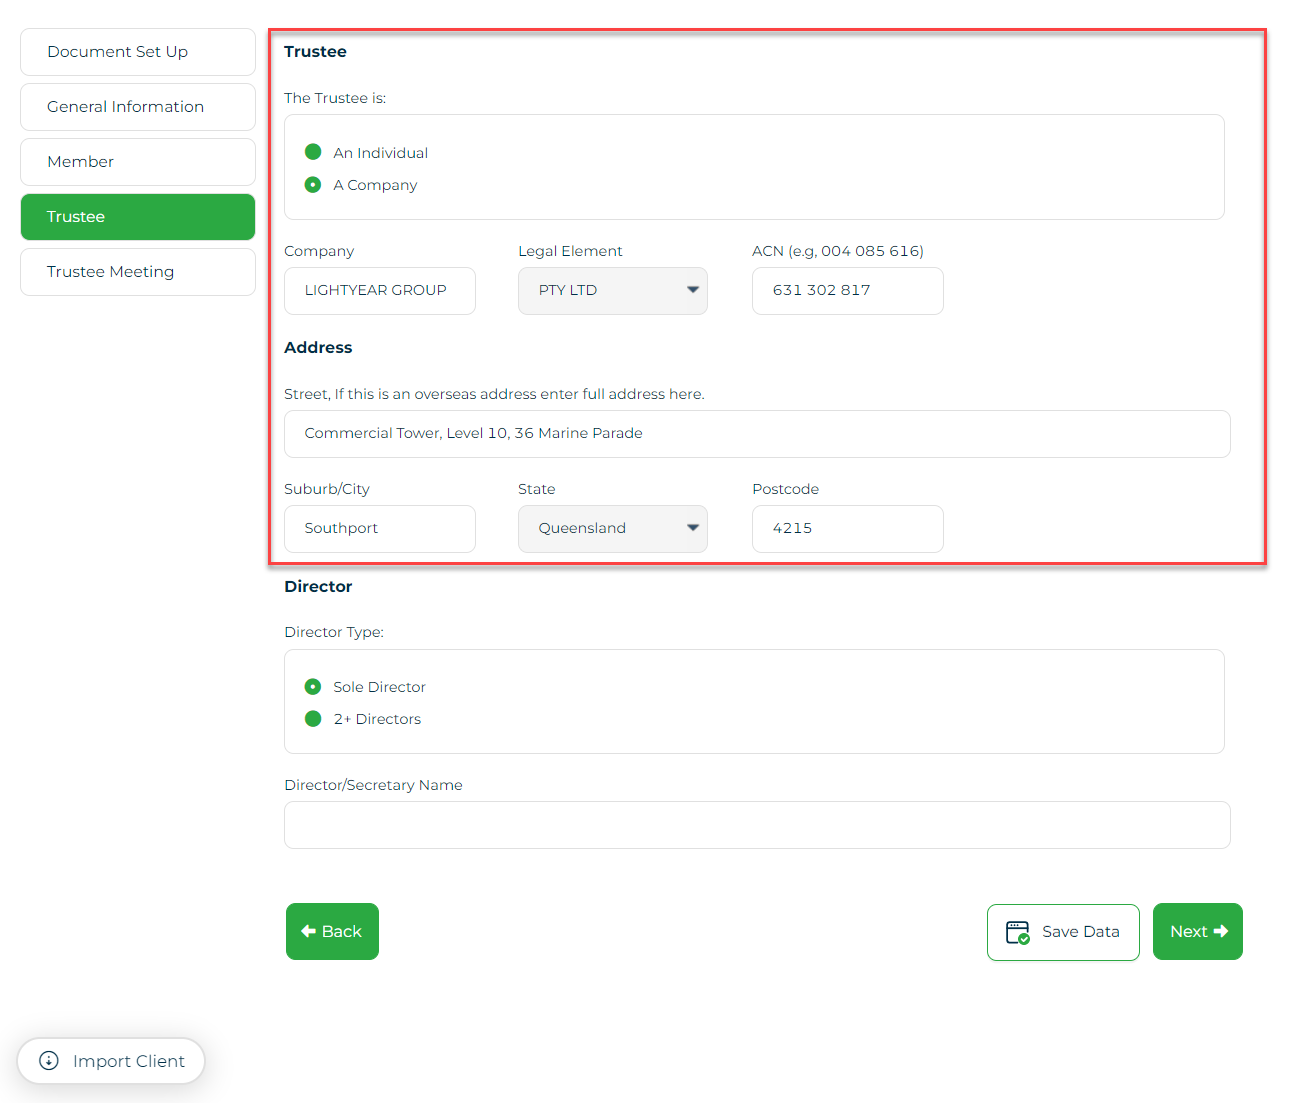
7. For some selection, additional details are needed. System will automatically detect that and the View Client Details button will appear.
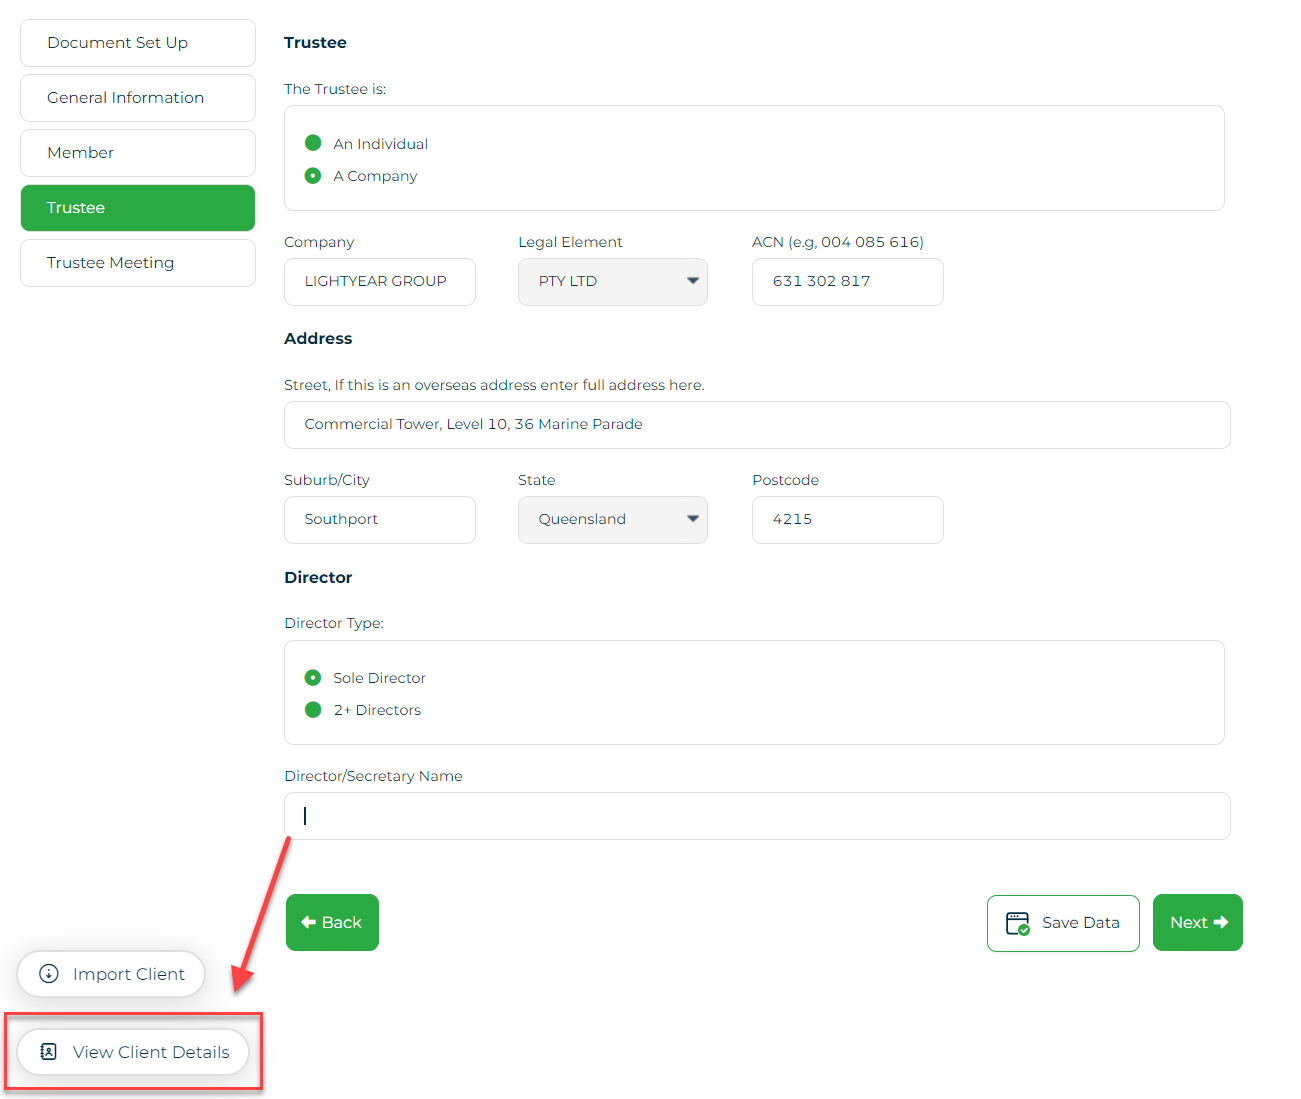
8. Once you click on View Client Details button, a pop-up will appear that is defaulted to Contacts. (Contacts will show the person you can contact for that Organisation/Company).
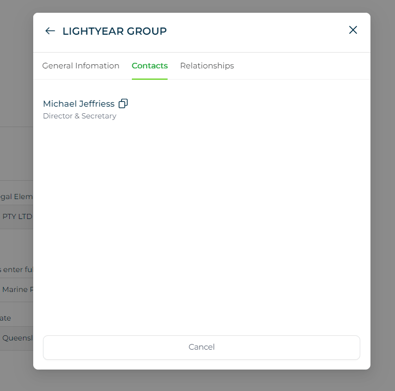
9. Choose on the Relationships tab to show the individuals associated with the Organisation. Each individual listed has the Copy icon.
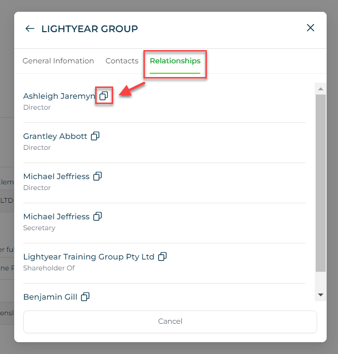
10. Clink on the icon to copy the details, then cancel or the X button, and paste the detail on the necessary field.
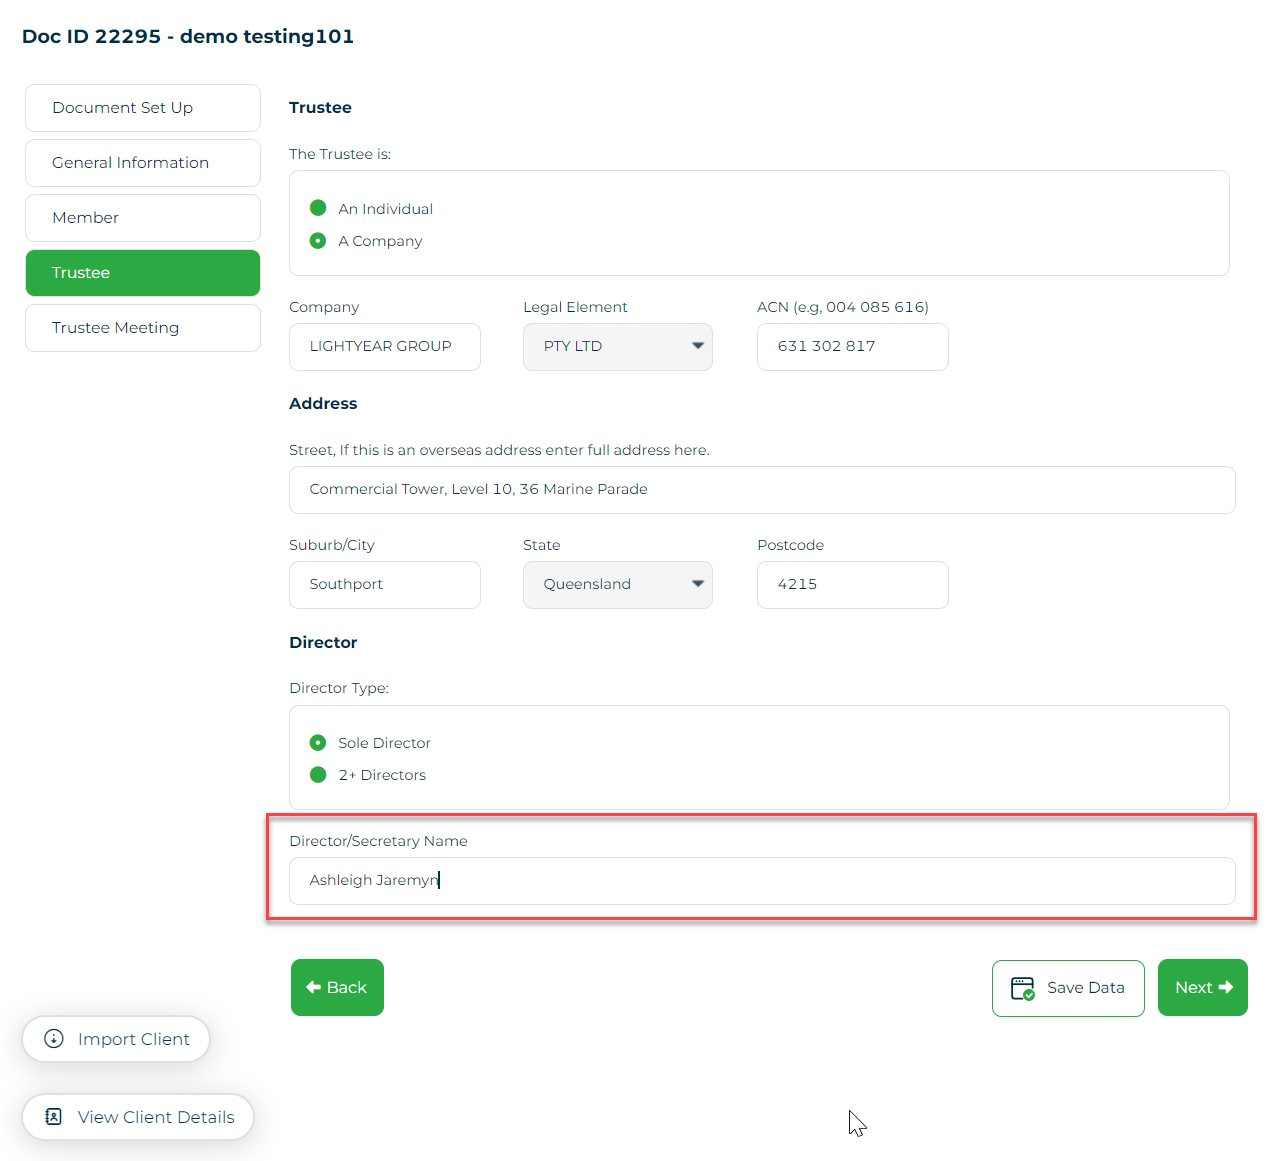
Please be advised that the only details that can be imported are the saved details in your XPM account. If there are details missing, you have to check your XPM and make sure that details are present. The data imported are read-only and any changes you make during the interview will not reflect on your XPM and XPM will remain as your source of truth.
Need more help?
- Contact support through your Organisation Support chat in Surge
- View this training video - XPM and LYD Integration
