
Once you've registered a company on the LightYear Docs platform, you will never look back. Simple, fast and so much more effective.
- Once you are logged into Surge, go to the Document Wizard found in quick links.
- From here click on your Templates.
- Drill down in the Company Establishments folder under Standard Companies or search the document in the search bar for the 'Standard Company' document. It will give you the option of:
- Upgrade (if it's an existing company)
- Standard Company (to register a new company)
- The $538 fee is the amount you pay ASIC directly - if you are on a subscription membership, there will be no other expenses. However if you are on a light membership there will be another additional fee payable to LightYear Docs.
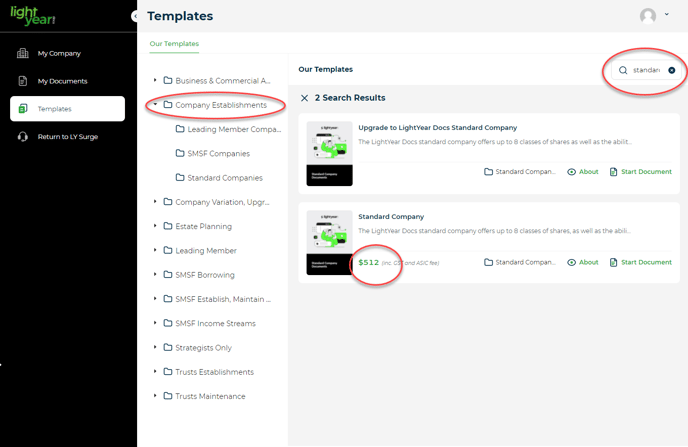
- Once you've found the document template, click on Start Document.
- The first step is always to name the document. It's important to name the document with a name that you will remember. That way if you have issues when doing the interview, this is the name you will use so that we can retrieve it. Save it into your folder (it can also be moved at a later date).
- Check Company Name Availability - When you register a company, you need to check if that company name is available. Put the name in the Company Name and add in the elements (eg Pty Ltd) and click on check (this will check all of the ASIC registers to see if it is available). If it's not available, you need to try a new name. It may come up as manual review, which means you may have used a dictionary word or a number that ASIC need to check first (usually takes an hour). You can still click on Start Interview and continue the process if a manual review is being doing.
*This is now going to generate both the document and register the company with ASIC.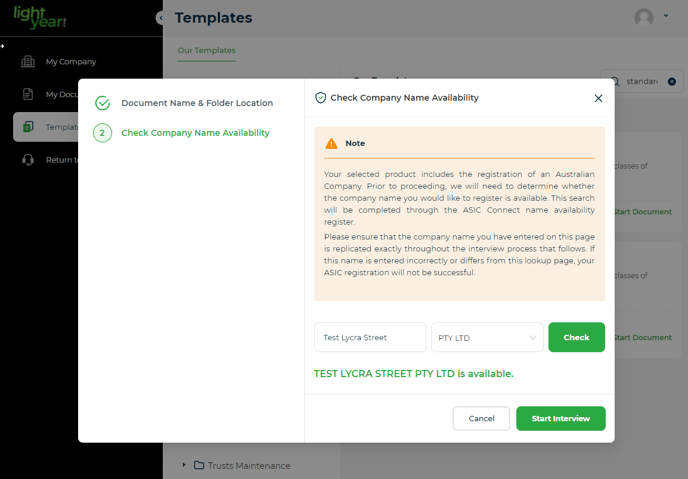
- Document Set Up - This is your branding, upload the company logo (we've given some recommendations on the sizing on the logo).
- Click on the button if you'd like to include a Legal Disclaimer.
- Director ID - Verify that you are aware of the requirements.
- Registration - The company type and class's have automatically come across from the company type chosen, therefore you just need to choose the state the company is registered and if it will have an 'ultimate holding company'? If your company name was under manual review, you would then tick the checkbox, otherwise leave this blank.
- Company Details - All information will come over from the company name you first entered - don't touch this name once it has been entered.
- Registered Office - Add in your registered address (note you cannot use a PO Box).
- Principal Place of Business - Confirm that this is the registered office address.
- Company Associates - Set up everyone involved in that company as an associate (this includes company director, shareholders and the company secretary) and then those that are shareholders we can then allocate the shares.
- Add in their position (if you are the director, shareholder and secretary, you can click on all of these in the one go), add in the name, address, DOB and confirm if you've added all associates, otherwise confirm and add another member.
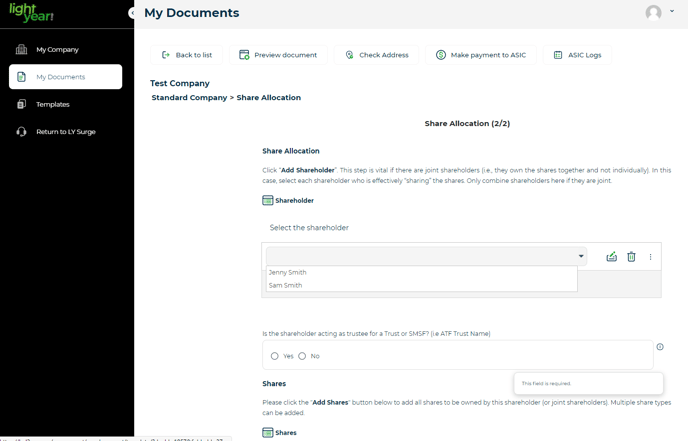
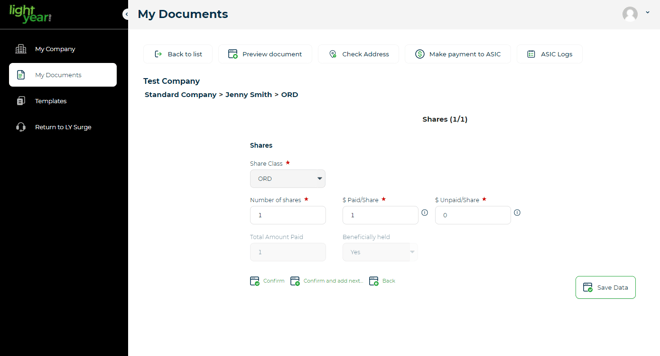
- Shares Allocation - Assign shares (each shareholders need to have shares allocated to them). Complete each share allocation page per each shareholder. Multiple share types can be added to one or all shareholders.
- Officers - Add in the public officers and chairperson, as well as the constitution date and first directors meeting.
- Minutes - This gives you the option to change the standard minutes (details of tax agent, add bank details, apply for an ABN, TFN and GST. Add insurance or add accounts and financial records). Otherwise most stick with the standard minutes.
- Signature - FuseSign (if you are registered)
- Declaration and Privacy Statement - This is for the ASIC declaration and privacy statement. You do not need to write anything in the last box, this will be populated later.
- STOP - The final page tells us what we need to do next.
- Go back through the interview to ensure you have completes all questions in full, any errors may delay the ASIC registration process.
- Once you are satisfied with your answers, please follow these steps:
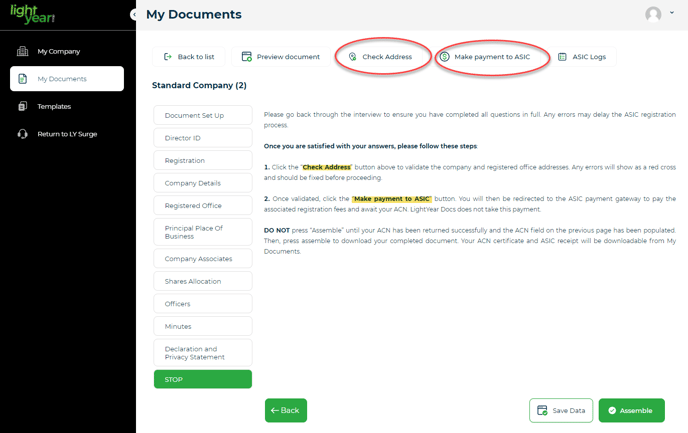
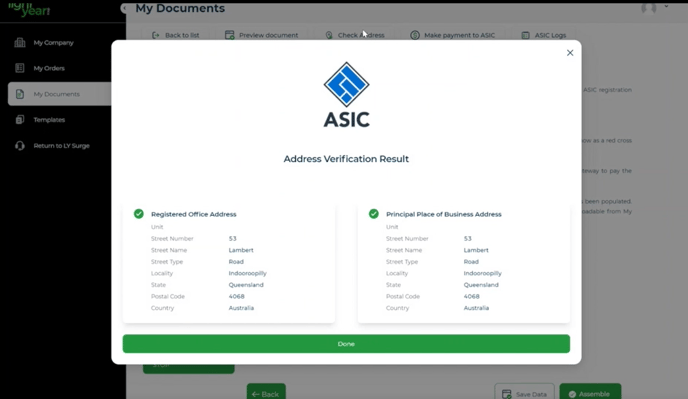
1. Click the 'Check Address' button above to validate the company and registered office addresses. Any errors will show as a red cross and should be fixed before proceeding.
-
-
If it comes back as red, you do need to go back in and fix it, however if you're set that it is correct, you can still proceed but its just a warning to say that it isn't quiet right.
-
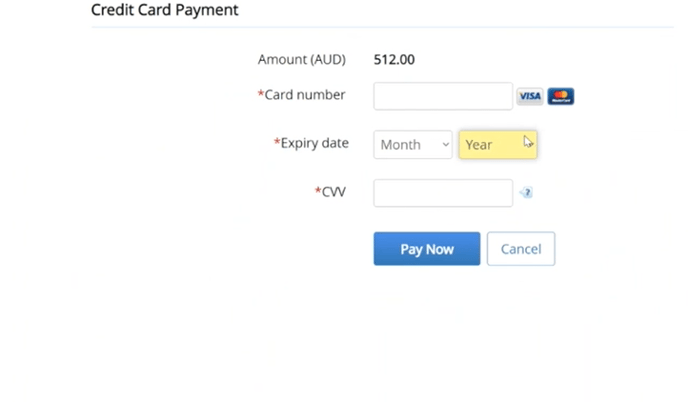
- ASIC does not issue invoices or receipts for company registration. The certificate of registration of the company or business name is the receipt.
-
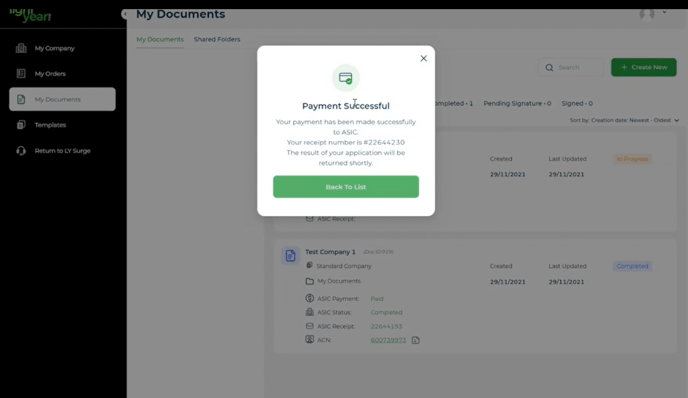
- It will take you back to the My Documents page - this is where all your documents are completed or ready to download. You will see the ASIC payment as paid and if the ASIC Status is not yet confirmed just refresh the page and it will update your ACN. You can also click on the icon to download your ACN certificate.

- It will take you back to the My Documents page - this is where all your documents are completed or ready to download. You will see the ASIC payment as paid and if the ASIC Status is not yet confirmed just refresh the page and it will update your ACN. You can also click on the icon to download your ACN certificate.
-
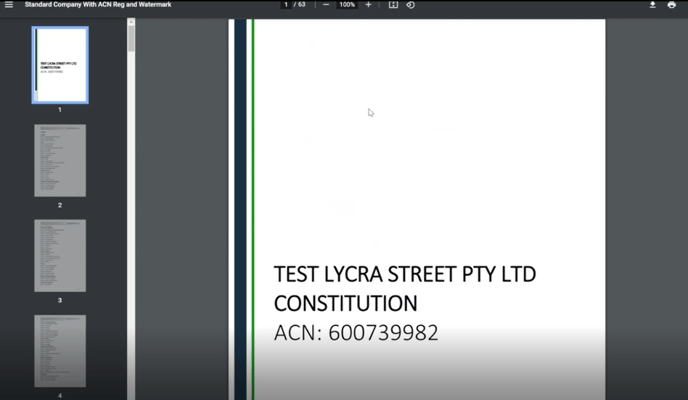
- Updated constitution with the ACN in it. To do this, click on the 3 action buttons and re-launch document. It will bring up your document interview questions. Go down to the last page (Declaration and Privacy Statement). Head down to the last box and you will see your ACN has been populated. Make sure the ACN is in there and go to the final page.
- DO NOT press 'Assemble' until your ACN has been returned successfully and the ACN field on the previous page has been populated. Then, press assemble to download your completed document. Your ACN certificate and ASIC receipt will be downloadable from My Documents.
- Click Assemble
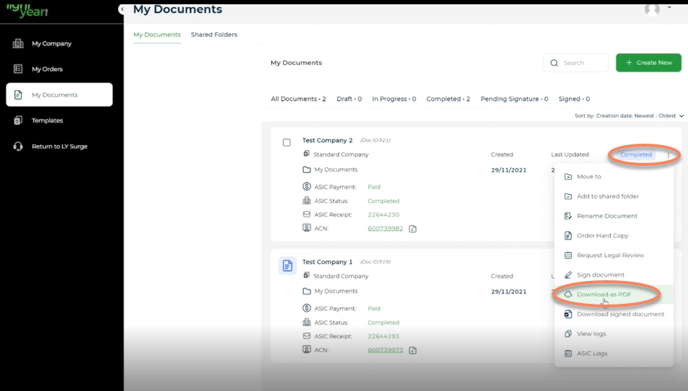
- You will see the document has now changed to 'completed'. You can click on the action button next to it and download the document as PDF and saved on your computer.
That is the process to register a standard company on our website. We do have other companies available, SMSF Company, Leading Member Company. Family Protection Company and they all work in the same way. If you have any questions at any time, use the surge app and write to support.
Alternatively, you can view our How to Video on how to set up a Standard Company here, or watch the video below.